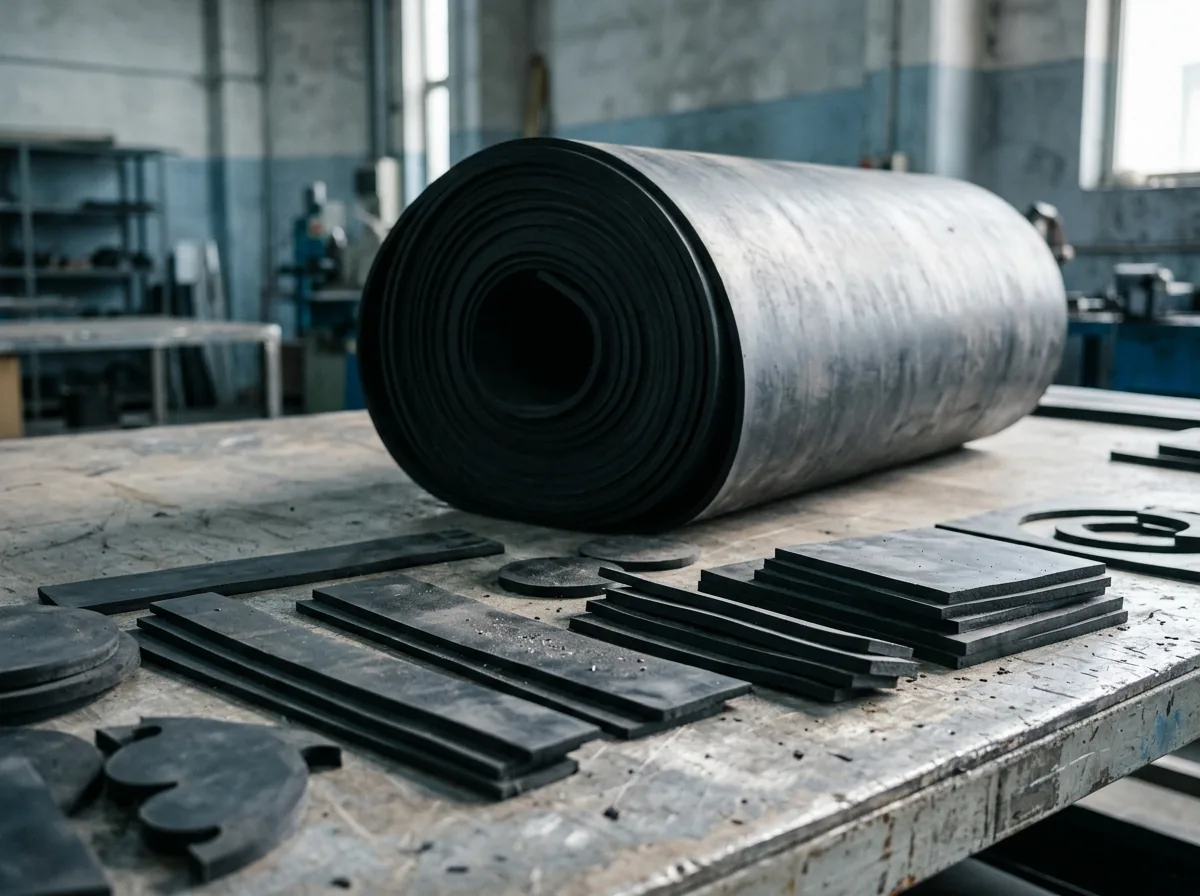
 This image was created with artificial intelligence – marked under Art. 50 of the AI Act, Regulation (EU) 2024/1689. It is a placeholder until the company's photos arrive.
Laying rubber tiles – instructions & tips
Laying rubber tiles correctly: instructions, care & costs – for durable and safe floor surfaces indoors and outdoors.
Rubber tiles are among the most popular floor coverings for areas where safety, comfort and durability are required. They are used both in private settings such as gardens, terraces or balconies and in commercial and public areas – for example on playgrounds, in sports halls or in gyms.
Their shock-absorbing and slip-resistant properties make them a particularly safe choice, while their robustness promises a long service life even under heavy use. For the positive properties of rubber tiles to be fully effective, professional preparation and installation is essential.
In this detailed guide you will receive a comprehensive overview: from the selection of suitable tiles through the necessary tools to a detailed step-by-step guide. You will also learn what costs you can expect, which mistakes should be avoided and how to care for the tiles in the long term.
Materials and properties of rubber tiles
Rubber tiles generally consist of recycled rubber or new rubber and are very hard-wearing thanks to their structure. Rubber granulate, which is pressed with binders, is particularly often used. The surface can be smooth, textured or provided with special patterns to offer additional grip.
Depending on thickness, the tiles are suitable for different areas of use. Thinner variants from 20 millimetres are mostly used indoors or on balconies, while thicker versions of 30 to 40 millimetres are intended for terraces, playgrounds or sports surfaces, as they have a particularly shock-absorbing effect.
In addition to classic black, rubber tiles are also available in red, green, grey or multi-coloured mixtures, which allows individual design. In outdoor areas they impress with their UV and weather resistance, they do not absorb water, are frost-resistant and thus a long-lasting solution for heavily used surfaces.
Tools & materials
For the installation of rubber tiles you need a tape measure, pencil and a marking line to measure the area exactly and draw lines. A spirit level is helpful to ensure that the tiles lie flat. The rubber mallet is used to press the tiles down evenly without damaging them.
For precise cutting to size, a sharp craft knife or a jigsaw is required. Before you begin installation, the substrate should be thoroughly cleaned with a broom or an industrial vacuum cleaner. Depending on the type of installation, assembly adhesive or special connecting pins are also used, which provide additional stability.
Preparing the substrate
The substrate is decisive for an even result and durability. An uneven or dirty floor can cause the tiles to slip, deform or create tripping hazards.
- Firm substrate: On concrete, screed or asphalt, tiles can be laid directly. Make sure that the surface is level, dry and free of dust.
- Soft substrate: If installation is to take place in a garden or on a playground, a base layer of crushed stone or compacted gravel must first be applied. This prevents the tiles from sinking.
- Water drainage: Outdoors, a slight gradient of 1–2 % is important so that rainwater can drain away without problems.
Installation methods at a glance
There are three common methods of installing rubber tiles:
- Loose installation: Suitable for smaller areas that are only lightly loaded. The tiles lie stable due to their own weight, but can easily be lifted again if required.
- Installation with a connection system: Many tiles are equipped with tongue-and-groove or puzzle connections. This technique ensures stable and precisely fitting installation without the need for adhesive.
- Bonding: For heavily used or permanently used areas, bonding is the safest solution. Special rubber adhesives ensure a firm bond with the substrate.
Step-by-step guide
Step 1: Measure and plan the area
Before you begin the actual installation, measure the entire area carefully. Also take into account corners, niches or curves that will later need to be filled precisely.
Draw a rough plan on paper to calculate the required quantity of tiles. Be sure to allow for 5–10 % waste, as additional pieces are needed especially for cuts at the edges.
Step 2: Create an installation plan
An installation plan helps to create a harmonious overall appearance. Consider in advance whether the tiles should be laid in a straight bond or offset. An offset joint pattern not only provides more stability but also a visually appealing surface.
Use a line to mark the starting line that you can use as a guide during installation. This prevents the tiles from slipping or being arranged crookedly as you proceed.
Step 3: Lay the first row
Begin with the first row in a corner of the room or area. This row is particularly important, as it forms the basis for all further tiles. Make sure that the tiles lie flush against one another and are exactly aligned.
Use the spirit level to ensure straight lines, and tap the tiles carefully with the rubber mallet so that they lie fully on the substrate.
Step 4: Adjusting tiles
In most cases, tiles need to be cut at the edges. Use a sharp craft knife or a jigsaw for this. Proceed slowly and precisely to obtain clean cut edges.
Particularly with curves or corners, it is worth marking the tile beforehand with a pencil. This way you avoid incorrect cuts and ensure that the tiles fit exactly into the intended gap.
Step 5: Establish the connection or glue
Now the tiles are connected depending on the system or fixed with adhesive. With plug-in systems, make sure that the connections engage firmly and no joints remain visible.
When bonding, apply the assembly adhesive evenly to the underside of the tile or directly to the floor. Then press the tiles down firmly so that they lie without gaps. It is best to work in sections here to prevent the adhesive from drying out.
Step 6: Final inspection
After all tiles have been laid, a thorough check is important. Use the spirit level to check whether the surface is level, and make sure that no joints are open.
If a tile does not sit exactly, correct this immediately before the adhesive hardens. Then leave the surface to rest for at least 24 hours before it is walked on or loaded. Only in this way is it guaranteed that the rubber tiles develop their full durability.
Tips for working
- Store the tiles in the intended room for 24 hours before installation so that they can acclimatise.
- Work at warm temperatures – the material is then more elastic and easier to cut.
- Outdoors, install in dry weather if possible in order to achieve optimum results.
Care & cleaning
Cleaning rubber tiles is straightforward, but should be carried out regularly in order to extend their service life. Indoors, it is sufficient to clean the surface at short intervals with a broom or vacuum cleaner to remove dust and small particles.
In the case of heavier soiling, for example from shoes or sports equipment, the tiles can be treated with a damp mop and a mild cleaning agent. Make sure to absorb excess water afterwards so that no puddles form.
Outdoors, it is often enough to spray the surface with a garden hose. More stubborn soiling can be removed with a pressure washer at a low setting. It is important not to hold the water jet too close to the surface so as not to damage the material. Fat or oil stains should be treated as quickly as possible with a special neutral cleaner so that they do not become permanently embedded in the surface.
In principle, avoid the use of aggressive chemicals, solvents or strongly acidic cleaners. These can attack the surface and impair the material properties. For screwed or glued tiles, it is advisable to check the joints regularly and touch them up if necessary. This ensures that the surface remains hygienic, safe and visually appealing for many years.
Avoiding typical mistakes
- Insufficient substrate preparation: Leads to uneven surfaces and slipping tiles.
- Untidy cuts: Create gaps in which dirt collects or tripping hazards arise.
- Too little adhesive: With bonded installation, this can considerably reduce durability.
- Installation in rain or frost: Impairs stability and leads to material damage.
Costs & economic efficiency
The prices for rubber tiles vary depending on thickness, quality, colour and surface. On average they are between 20 and 50 euros per square metre. Simple tiles in standard colours are cheaper, while coloured or textured versions are usually in the upper price segment.
In addition, there are possible costs for preparing the substrate – for example through crushed stone or screed – as well as expenditure for adhesive, connecting pins or tools. For larger areas, transport can also be a relevant factor, as rubber tiles are comparatively heavy due to their weight.
In the long term, rubber tiles are an economically very attractive solution. Their robustness and resilience ensure that they last for many years even under heavy use, without frequent repairs or replacement being necessary.
In addition, their cushioning and insulating properties help to reduce noise levels and increase safety – which, especially in public facilities or businesses, can minimise follow-up costs caused by accidents. Maintenance costs are also very low compared with other floor coverings, as no special cleaning agents are required.
A brief overview:
| Thickness | Area of use | Price per m² (approx.) |
|---|---|---|
| 20 mm | Indoor areas, light load | 20–25 € |
| 30 mm | Terraces, balconies | 25–35 € |
| 40 mm | Playgrounds, sports surfaces | 35–50 € |
In conclusion
Installing rubber tiles is a comparatively simple task that DIY enthusiasts can also carry out successfully. With the right preparation, suitable tools and careful execution, you create a long-lasting, safe and low-maintenance flooring solution. It is particularly worth emphasising that rubber tiles are not only functional but also open up design possibilities: coloured tiles or individual patterns can enhance surfaces visually and thus create additional added value.
Whether on the terrace, in the fitness room or on a heavily frequented playground – rubber tiles are a worthwhile investment in comfort and safety. Their resistance to weather, wear and moisture makes them a floor covering that saves costs in the long term while making everyday life easier. Anyone who plans the installation thoroughly and carries it out carefully will obtain a floor that convinces both functionally and visually for many years.
Frequently asked questions
How long do rubber tiles last outdoors? With good care and proper installation, rubber tiles outdoors can easily be used for ten to fifteen years or longer.
Are rubber tiles environmentally friendly? Many manufacturers rely on recycled rubber, so the tiles are not only long-lasting but also produced in a resource-saving way. In addition, they can often be recycled again after use.
Can rubber tiles also be installed on an uneven substrate? A certain amount of levelling is possible, but the substrate should be prepared as level as possible. Severe unevenness must be levelled out beforehand in order to ensure stability and safety.
Are rubber tiles water-permeable? Rubber tiles themselves do not absorb water. With open-pored variants, rainwater can drain through the joints; with dense installation, a slight gradient is recommended for water drainage.
Are rubber tiles also suitable for pets? Yes, rubber tiles are low-maintenance, hygienic and non-slip. They are therefore eminently suitable for animal areas, for example in dog runs or on terraces where animals play.
How is it best to cut rubber tiles to size? Cutting is easiest with a sharp craft knife, which is guided over the same line several times. For thicker tiles, a jigsaw can also be used.
Our rubber sheets
For industry and trade we offer a wide variety of rubber sheets.
SBR rubber sheet
Our high-quality SBR rubber sheet (styrene-butadiene rubber) is the solution for numerous industrial and commercial applications. This rubber sheet is manufactured from first-class styrene-butadiene rubber and stands out through its excellent physical properties.
EPDM rubber sheet
Discover the versatility and reliability of our EPDM rubber sheet, which is manufactured from ethylene propylene diene monomer (EPDM). This high-quality elastomer solution has been specially developed to meet the most demanding industrial and commercial applications.
NBR rubber sheet
The NBR rubber sheet is a high-quality industrial product that has been specially developed for applications where excellent resistance to oils, greases and various chemicals is required.
Viton rubber sheet
The Viton rubber sheet is a high-quality technical product that is used for a wide range of industrial applications. Manufactured from fluoro rubber (FKM), it offers outstanding properties that make it the ideal choice for extreme conditions.
FKM rubber sheet
The FKM rubber sheet is a high-quality technical product that is ideal for use in demanding industrial applications. Made from fluoro rubber (FKM), it stands out through a wide range of outstanding properties that make it the optimum choice for extreme operating conditions.
Silicone rubber sheet
The silicone rubber sheet is a first-class technical product that has been specially developed for applications that place high demands on temperature resistance and flexibility.
PUR rubber sheet
The PUR rubber sheet, made from high-quality polyurethane, is a technically advanced product that has been developed for applications that place the highest demands on abrasion resistance and mechanical load capacity.
Neoprene rubber sheet
The Neoprene rubber sheet, manufactured from high-quality chloroprene rubber (CR), is a versatile technical product that is ideal for a wide range of industrial and commercial applications.