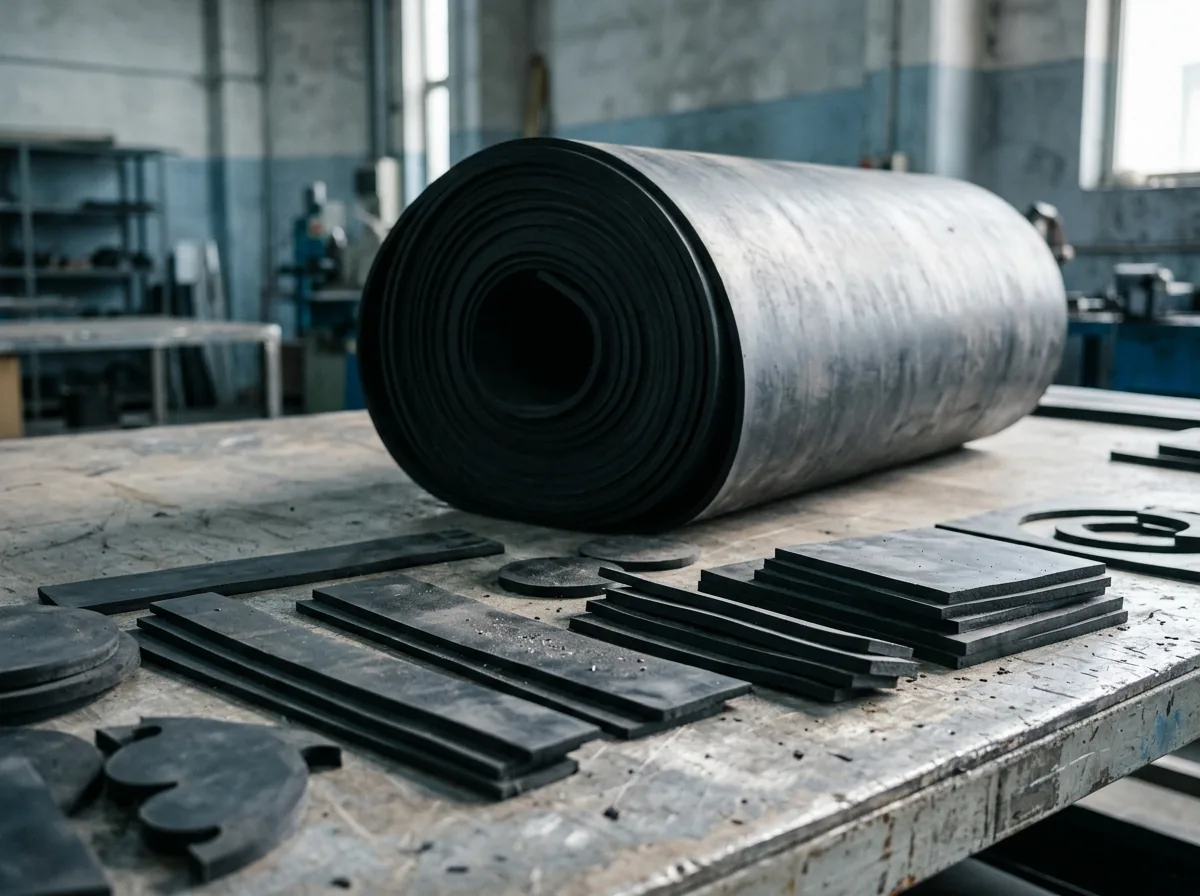
 This image was created with artificial intelligence – marked under Art. 50 of the AI Act, Regulation (EU) 2024/1689. It is a placeholder until the company's photos arrive.
Laying rubber tiles
Learn how to lay rubber tiles correctly. Practical tips on substrate preparation, laying methods, cutting to size and care.
Rubber tiles are an extremely versatile solution for flooring in both private and commercial areas. They combine safety, comfort and durability in one product. Particularly noteworthy are their slip resistance and their ability to reliably dampen impacts and vibrations.
This makes them ideal for places where people frequently stand or walk – whether on the terrace, in the gym, in the garage or on playgrounds, where children need additional fall protection. In commercial environments too, such as workshops or production halls, they offer a decisive advantage thanks to their high load-bearing capacity and resistance to moisture and weather.
Another plus point is the easy care, which makes it possible to keep even heavily used surfaces permanently hygienic and visually appealing. Correctly installed, rubber tiles are therefore an investment in a safe and comfortable flooring that reliably serves its purpose for many years.
Advantages of rubber tiles
- Pleasant elasticity and impact cushioning
- Noise and vibration reduction
- Easy self-assembly
- Resistant to moisture and weather
- Versatile designs, colours and surfaces
- Ideal for outdoor and indoor areas
Preparing the substrate
A load-bearing, clean substrate is the most important prerequisite for a durable installation. Remove loose particles, dust and dirt thoroughly. When installing on soil or grass, a firm base layer is required, for example made of compacted grit or gravel.
Indoors, a firm, level concrete or screed floor is sufficient. Make sure that no moisture is trapped in the substrate, as this could impair stability.
Table: Suitable substrates for rubber tiles
| Substrate | Suitable? | Recommendation |
|---|---|---|
| Concrete/screed | ✔️ | Install directly or glue down |
| Paving stones | ✔️ | Level joints if necessary |
| Grit/gravel bed | ✔️ | For outdoor areas with fall protection |
| Timber substructure | ✔️ | Only with a stable, load-bearing construction |
| Soil/grass | ❌ | Not suitable, substructure required |
Tools & materials
Only a few, but nevertheless important, aids are needed for installing rubber tiles. A tape measure and a pencil or chalk are used for precisely marking the cut points. A spirit level ensures that the tiles lie evenly and that no tripping edges are created.
For cutting, a utility knife with sharp replacement blades is suitable, or alternatively a jigsaw, so that thicker sheets can also be cut to size accurately. The rubber mallet is indispensable for joining the tiles gently but firmly together without damaging the material.
If gluing is planned, a special flooring adhesive is used, which is spread evenly with the help of a notched trowel. In addition, work gloves are recommended in order to avoid injuries during cutting and installation and to ensure a secure grip.
Installation methods at a glance
There are various methods of installing rubber tiles, which are chosen depending on the requirement and place of use. With loose installation, the tiles are simply laid on the prepared substrate. This variant is particularly practical for smaller areas or when a temporary solution is needed. Another option is the interlocking system, in which the tiles are fitted with precisely matching puzzle edges.
As a result, they can be joined stably and seamlessly without any additional materials being required. For areas that are exposed to particularly high stress – such as workshops, gyms or public facilities – gluing is the best choice. Here, the tiles are firmly bonded to the substrate, which ensures lasting load-bearing capacity and reliably prevents slipping.
Step-by-step instructions
- Prepare the substrate: Clean thoroughly, level unevenness, create a substructure if necessary.
- Planning & alignment: Determine the starting edge and lay out an initial trial row.
- Lay out the tiles: Install from the centre or from a wall to achieve a symmetrical appearance.
- Cutting: Fit edges and corners precisely with a utility knife or jigsaw.
- Fixing: With interlocking systems, press the edges carefully into one another; when gluing, apply adhesive evenly with a notched trowel.
- Checking: Regularly check the joints and ensure that the tiles sit firmly.
Tips for working
In order for the installation to succeed optimally, a few important points should be taken into account. Store the tiles in the installation room for at least 24 hours before starting work. This ensures that they adopt the ambient temperature and retain their shape.
When cutting, it is advisable to always work on the tiles from the back, as this produces particularly clean cut edges and does not damage the visible side. For outdoor areas, it is essential to plan a slight slope of one to two per cent in order to ensure smooth water drainage and prevent the formation of puddles.
When fitting and tapping the tiles into place, you should use only a rubber mallet, as conventional metal hammers could damage the surface. The installation conditions also play a role: extreme heat or direct sunlight can expand the material, while temperatures that are too cold make working more difficult.
Ideally, install the tiles in moderate weather conditions in a clean, well-prepared environment.
Avoiding typical mistakes
Many mistakes arise from insufficient preparation or the wrong choice of material. Common problems are:
- Insufficiently cleaned substrate: Dirt and dust impair adhesion.
- Wrong weather: Avoid installation during frost or direct exposure to heat.
- Missing expansion joint: Rubber tiles expand when warm, so leave a small edge gap.
- Insufficient material reserve: Allow for at least 5–10 % waste.
Care & cleaning
Caring for rubber tiles is straightforward, yet it contributes decisively to the service life of the flooring. For regular cleaning, it is sufficient to sweep the surfaces or remove loose particles with a vacuum cleaner. For heavier soiling, you can clean the tiles with water and mild, non-abrasive cleaning agents.
Particularly practical in outdoor areas is the option of simply spraying the surfaces down with a garden hose. For more stubborn stains, using a soft brush is recommended, as it does not damage the material but still cleans thoroughly. Avoid aggressive chemicals, as these can attack the surface and shorten the service life.
In heavily frequented areas, it is also advisable to check the tiles at regular intervals for damage or loose spots and, if necessary, replace individual elements. This keeps the flooring hygienic, visually appealing and permanently functional.
Areas of application at a glance
- Playgrounds & kindergartens: Fall protection and safety
- Gyms & sports halls: Cushioning and noise protection
- Workshops & garages: Resistance to loads and chemicals
- Terraces & balconies: Weather resistance and comfort
- Stables & animal husbandry: Hygienic and gentle on animals' joints
In conclusion
Installing rubber tiles is a worthwhile investment in safety, comfort and durability. Anyone who prepares the substrate carefully and chooses the right installation method will get a flooring that convinces both functionally and visually. The easy handling in particular makes rubber tiles interesting for DIY enthusiasts, while their robustness and versatility are also an advantage for commercial and industrial applications.
They create a substrate that reliably withstands loads, reduces the risk of accidents and is at the same time pleasant to walk on. Outdoors, they also score points for their weather resistance; indoors, for sound insulation and ease of care. Overall, rubber tiles are therefore a flexible solution that offers long-term added value and represents a smart choice for a wide variety of locations.
Frequently asked questions
How long do rubber tiles last? With proper installation and care, rubber tiles can be used for many years, often over a decade.
Can you install rubber tiles yourself? Yes, most products are suitable for DIY enthusiasts and can be cut and installed with simple tools.
Are rubber tiles UV-resistant? High-quality rubber tiles are UV-stabilised and do not fade, even with prolonged sunlight.
Do you need adhesive for rubber tiles? Not necessarily – interlocking systems also hold without adhesive. In heavily used areas, however, gluing is recommended.
Are rubber tiles water-permeable? Depending on the version: some tiles have drainage channels for outdoor areas, others are completely sealed.
Our rubber sheets
For industry and trade, we offer a wide variety of rubber sheets.
SBR rubber sheet
Our high-quality SBR rubber sheet (styrene-butadiene rubber) is the solution for numerous industrial and commercial applications. This rubber sheet is manufactured from first-class styrene-butadiene rubber and stands out for its excellent physical properties.
EPDM rubber sheet
Discover the versatility and reliability of our EPDM rubber sheet, which is made from ethylene propylene diene monomer (EPDM). This high-quality elastomer solution has been specially developed to meet the most demanding industrial and commercial applications.
NBR rubber sheet
The NBR rubber sheet is a high-quality industrial product that has been specially developed for applications requiring excellent resistance to oils, greases and various chemicals.
Viton rubber sheet
The Viton rubber sheet is a high-quality technical product that is used for a wide range of industrial applications. Made from fluoro rubber (FKM), it offers outstanding properties that make it the ideal choice for extreme conditions.
FKM rubber sheet
The FKM rubber sheet is a high-quality technical product that is ideal for use in demanding industrial applications. Manufactured from fluoro rubber (FKM), it stands out for a wide range of outstanding properties that make it the optimal choice for extreme operating conditions.
Silicone rubber sheet
The silicone rubber sheet is a first-class technical product that has been specially developed for applications placing high demands on temperature resistance and flexibility.
PUR rubber sheet
The PUR rubber sheet, manufactured from high-quality polyurethane, is a technically advanced product that has been developed for applications placing the highest demands on abrasion resistance and mechanical load-bearing capacity.
Neoprene rubber sheet
The neoprene rubber sheet, manufactured from high-quality chloroprene rubber (CR), is a versatile technical product that is ideal for a wide range of industrial and commercial applications.