Laying multiwall sheets: instructions, spacing and fastening
Laying multiwall sheets made easy: instructions with tips on spacing, fixing and slope. Find out now what matters for professional installation!
Multiwall sheets are very popular in terrace and greenhouse construction thanks to their stability, light transmission and weather resistance. For installation to work in the long term, certain basic rules must be observed when laying multiwall sheets. Below you will find a practical guide to laying, information on the required spacings and an overview of correct fastening.
What are multiwall sheets?
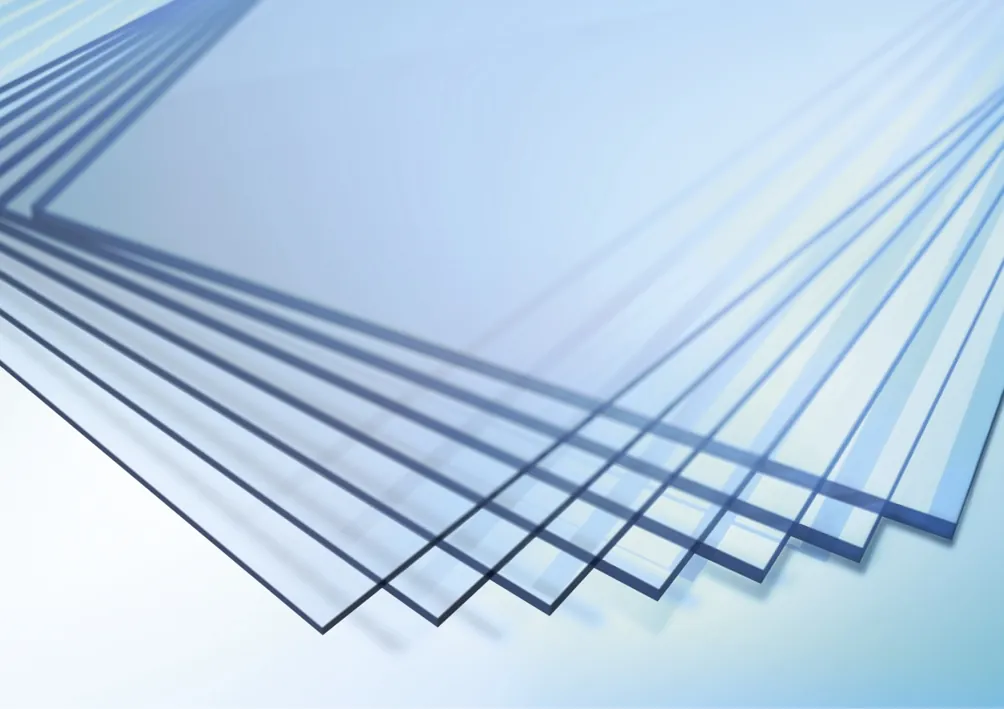
Multiwall sheets, also known as hollow-chamber sheets or twin-wall sheets, are multi-walled plastic sheets with a characteristic internal structure of parallel webs. This structure provides a combination of low weight, high stability and good thermal insulation. The air chambers between the webs act as insulation, making the sheets suitable both for transparent roofing and as wall elements.
Multiwall sheets are manufactured mainly from polycarbonate, acrylic (PMMA) or PETG. Polycarbonate offers particularly high impact strength and temperature resistance, while acrylic glass stands out above all for its excellent light transmission. PETG represents a cost-effective alternative, but is less weather-resistant.
Thanks to their UV resistance and resistance to weather influences, multiwall sheets are preferably used for the construction of roofs, carports, greenhouses and conservatories. They are easy to work with, can be cut to size without difficulty and can be securely installed with suitable profile systems.
Step-by-step guide: laying multiwall sheets
Prepare the substructure
First, a stable substructure is required, which can be made of wood, aluminium or steel. The rafters should be installed exactly in line in order to create an even bearing surface for the multiwall sheets. The rafter spacing depends on the material and sheet thickness.
Cut sheets to size and align
Before installation, the sheets must be cut to the desired size. It is important to ensure that the open side of the sheets faces downwards, i.e. in the direction of water drainage. The protective film should only be removed after installation. Fine-toothed tools such as a circular saw are suitable for cutting to size.
Observe slope and expansion clearance
A sufficient slope of at least 5 degrees is important in order to allow rainwater to drain effectively. An expansion clearance of at least 5 mm must be allowed between the sheets so that the material can expand with temperature changes.
Fasten multiwall sheets
The multiwall sheets are not fastened directly, but via clamping profiles with rubber seals. This avoids stress cracks. End profiles with a drip edge prevent water from penetrating into the hollow chambers.
Install closing profiles and seals
Finally, the open sheet ends must be properly sealed with anti-dust tape. A closed tape is used at the top, and a diffusion-open one at the bottom so that condensation water can escape. The closing profiles are then fitted and, depending on the system, glued or screwed on. This procedure produces a durable, functional and visually appealing multiwall sheet construction. A slope of at least 5 degrees is important in order to allow rainwater to drain effectively.
An expansion clearance of at least 5 mm must be allowed between the sheets so that the material can expand with temperature changes. The multiwall sheets are not fastened directly, but via clamping profiles with rubber seals. This avoids stress cracks. End profiles with a drip edge prevent water from penetrating into the hollow chambers.
Finally, the open sheet ends must be properly sealed with anti-dust tape. A closed tape is used at the top, and a diffusion-open one at the bottom so that condensation water can escape. The closing profiles are then fitted and, depending on the system, glued or screwed on. This procedure produces a durable, functional and visually appealing multiwall sheet construction.
Guide values: spacing of the substructure
| Sheet thickness | Material | Max. rafter spacing in snow load zone 1 |
|---|---|---|
| 6 mm | Polycarbonate | 60 cm |
| 10 mm | Polycarbonate | 80 cm |
| 16 mm | Polycarbonate | 100 cm |
| 16 mm | Acrylic glass | 80 cm |
| 25 mm | Polycarbonate | 100–120 cm |
Note: For higher snow loads or wind loads, choose correspondingly smaller spacings.
Common mistakes when laying multiwall sheets
- No slope planned: Leads to standing water and moss formation.
- Direct screwing: Can cause cracks and material damage.
- Missing ventilation: Condensation water in the hollow chambers.
- Improper cutting to size: Risk of breakage and fit problems.
- Wrong sealing tape: Mould formation or ingress of dirt.
Conclusion: This is how laying multiwall sheets succeeds
Anyone who pays attention to a stable substructure, correct slope and high-quality fastening systems when laying multiwall sheets will obtain a durable and functional roofing solution. Whether for the terrace, the greenhouse or the carport: proper installation saves maintenance costs and increases the service life of the sheets.
FAQ on laying multiwall sheets
How do I cut multiwall sheets correctly? With a circular saw with fine toothing or a jigsaw at low speed. Cooling with compressed air can be useful with polycarbonate.
Do multiwall sheets need to be sealed on both sides? Yes, but with different adhesive tapes: closed at the top, diffusion-open at the bottom against condensation water.
Can multiwall sheets be screwed on directly? No. They should always be fastened via profile systems with rubber seals in order to avoid stress cracks.
What minimum pitch should the roof have? At least 5 degrees (approx. 9 cm per linear metre) so that rainwater drains reliably.