Mounting multiwall sheets: instructions, fastening & tips
Mounting and securing multiwall sheets correctly. Guide for twin-wall sheets, aluminium profiles, screws, aluminium tape and typical installation errors.
Multiwall sheets are a popular choice for roofing carports, patios, conservatories or greenhouses. They impress with their low weight, high impact resistance and good light transmission. For these advantages to be retained in the long term, correct installation is crucial. In this article you will learn step by step how to process multiwall sheets professionally – both as a DIY enthusiast and as a professional.
What are multiwall sheets?
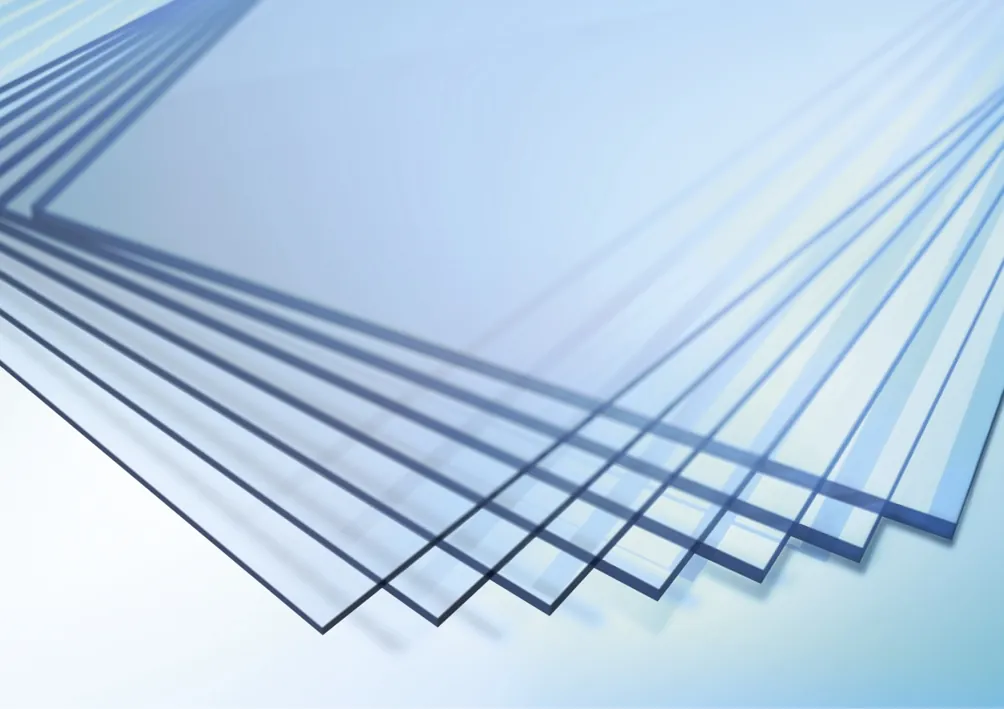
Multiwall sheets are multi-walled plastic sheets made from polycarbonate (PC), acrylic (PMMA) or PETG. The typical structure consists of two outer layers connected by internal webs. These webs form hollow chambers that not only save weight but also contribute to thermal insulation. Multiwall sheets are particularly popular due to their high resistance to breakage, UV resistance (with a suitable coating) and ease of processing.
Planning and preparation
Careful planning should be carried out before installation. This includes choosing the suitable sheet thickness, the spacing of the supports in the substructure and deciding on a suitable fastening system. The expansion of the sheets under temperature fluctuations must also be taken into account. A slope of at least 5° is absolutely essential so that rainwater can drain away.
Fastening multiwall sheets – what you should look out for
The professional fastening of multiwall sheets is crucial for long-lasting and safe roofing. Because polycarbonate and acrylic multiwall sheets expand and contract under temperature fluctuations, the fastening must provide sufficient room for this movement. If multiwall sheets are screwed too tightly or installed without suitable profiles, tension, deformation or even cracks can occur.
Aluminium profiles or plastic profiles are generally used for fastening multiwall sheets. These provide a secure hold and protect the sheet edges from the effects of the weather. At the same time, they allow the necessary freedom of movement of the material. The substructure should be stable, level and dimensioned in accordance with the manufacturer's specifications.
If you want to fasten multiwall sheets with screws, you should use only suitable stainless steel screws with sealing washers and make the drill holes somewhat larger than the screw diameter. This allows the sheet to move without coming under tension. Particularly with twin-wall sheets, attention must also be paid to the correct use of closure strips, edge profiles and connection systems.
Careful planning of the fastening increases the service life of the multiwall sheets and reduces the risk of leaks, deformation or damage caused by wind and weather.
Fastening multiwall sheets with screws – is that possible?
Yes, multiwall sheets can be fastened with screws. However, installation should be carried out professionally, as polycarbonate and acrylic multiwall sheets expand and contract with temperature changes. If screws are tightened too firmly or the drill holes are made too small, tension can occur that leads to cracks or deformation in the long term.
Stainless steel screws in combination with special sealing washers are usually used for fastening multiwall sheets with screws. The drill holes should be made somewhat larger than the screw diameter so that the sheets have sufficient room for movement. In addition, the use of aluminium or plastic profiles is recommended in order to distribute the load evenly and seal the construction permanently.
For larger roofs, carports or patio roofs, profile systems are regarded as the preferred solution. They enable secure fastening of the multiwall sheets while at the same time allowing for the thermal expansion caused by the material. Direct screwing alone is suitable above all for smaller constructions and should always be carried out in accordance with the respective manufacturer's specifications.
Substructure: the foundation of stability
The substructure can consist of aluminium, galvanised steel or impregnated wood. It is important that it is load-bearing, dimensionally stable and precisely aligned. With wood, the contact surfaces should be covered with bitumen tape to prevent waterlogging. The maximum rafter spacing depends on the sheet thickness and the material; 60 to 105 cm is usual.
Cutting multiwall sheets to size: clean and free of tension
Care is required when cutting to size. Circular saws with a fine-toothed carbide blade are ideal. The sheets are secured on a stable surface and sawn along a straight guide. Swarf must be removed from the hollow chambers to prevent mould growth or condensation. The protective film remains on the top side until installation is complete.
Drill holes: movement instead of tension
The fastening holes must never sit tight. They must be at least 3 mm larger than the screw shank to allow expansion when the temperature changes. Drilling is always carried out between the webs, not directly on them. The distance to the sheet edge should be at least 40 mm.
Fastening systems: screws, profiles, seals
Stainless steel screws with UV-resistant sealing washers are suitable for fastening. Alternatively, aluminium or plastic clamping profiles can be used. It is important that the sheets are not screwed directly, but installed with spacers and elastic seals in order to avoid material tension.
Edge closure and ventilation: combining function and protection
A U-profile made of aluminium or plastic is fitted at the lower end of the multiwall sheets. Beforehand, a so-called anti-dust tape should be stuck onto the open web side. This non-woven tape prevents the ingress of dust, insects or moisture but at the same time allows condensation to escape. The upper U-profile should be closed in order to prevent the ingress of rainwater.
Laying the sheets: from bottom to top, from one side to the other
Laying is carried out along the roof pitch, starting from the lowest point. The UV-coated side must face outwards. Thermal expansion joints must be allowed for between the sheets and bridged with aluminium connecting profiles. Important: never press the sheets directly against each other at the joint.
Avoiding typical mistakes
Many problems arise from small installation errors that are, however, avoidable. The most common mistakes include:
- Screwing too tightly: The sheets cannot expand under temperature fluctuations and crack at the fastening points.
- Insufficient slope: Without a slope, water accumulates, which leads to moss growth, leaks and premature material wear.
- Direct screwing without a seal: Without sealing washers, water can penetrate and damage the substructure in the long term.
- Wrong or missing closure profiles: The ingress of dirt, insects or water into the hollow chambers can make the sheets unusable.
- Protective film not removed: UV radiation welds the film to the sheet and causes yellowing or blistering.
- Drill holes too small or wrongly positioned: Stress cracks occur if the drill holes are not large enough or are placed on the webs.
- Unsuitable sealants: Acetic silicone chemically attacks the sheets and leads to stress cracks. Use only neutral-curing silicones.
- Missing ventilation of the webs: Without anti-dust tape and open U-profiles at the bottom, condensation forms that cannot escape. Screwing too tightly leads to cracks, a missing slope leads to water accumulation and moss growth. If the protective film is not removed in time, it can become permanently bonded to the sheet by UV radiation and yellow. Unsuitable sealants (acetic silicone) also lead to material damage.
Conclusion
With the right know-how, multiwall sheets can easily be installed yourself. Careful preparation, a well thought-out substructure, tension-free fastening and effective ventilation are crucial. Anyone who observes these points creates a long-lasting, low-maintenance and visually appealing solution for roofs of all kinds.
Frequently asked questions about installing multiwall sheets
Can I install multiwall sheets myself?
Yes, with a little manual skill and the right preparation, self-installation is quite possible. Suitable tools, clean planning and compliance with the recommended installation instructions are important.
Which tools do I need for installation?
You need a fine-toothed circular saw, cordless screwdriver, tape measure, spirit level, drill bits with a suitable diameter, possibly a guide rail and a silicone gun for sealants.
What is the best pitch for a multiwall sheet roof?
A slope of at least 5° (approx. 9 cm per metre) is recommended. This allows rainwater to drain away reliably and prevents water accumulation or moss deposits.
How do I prevent condensation in the hollow chambers?
By attaching anti-dust tape to the lower sheet edge and an open U-profile. This combination provides ventilation and prevents the ingress of dirt or insects.
Which side faces upwards?
The side with the UV coating must be installed facing outwards or upwards. Look out for the corresponding information on the protective film.
How are multiwall sheets fastened?
With stainless steel screws and sealing washers or with special aluminium clamping profiles. It is important that the drill holes are larger than the screw diameter to allow thermal expansion.
What should be done with sloping or curved constructions?
Flexible polycarbonate sheets are particularly suitable here. The maximum bending radii depend on the manufacturer and must be observed.