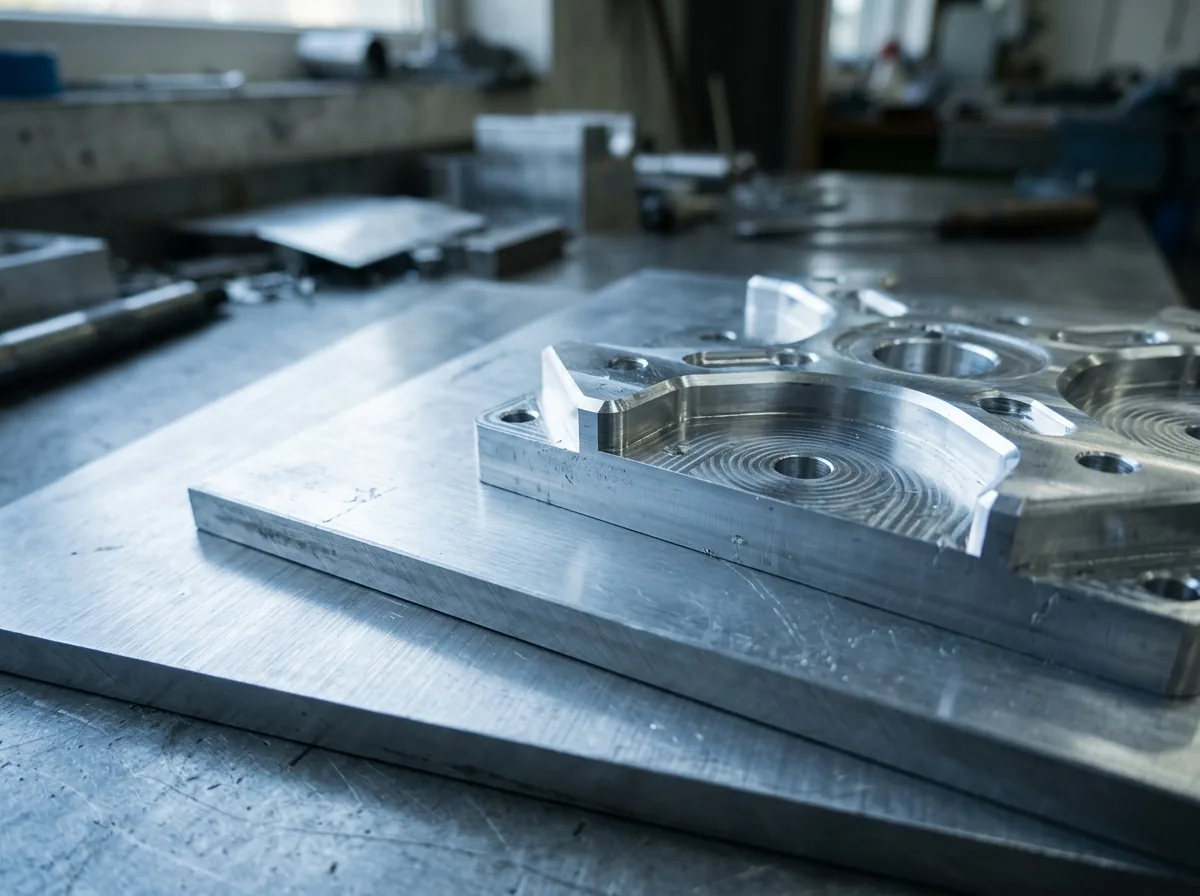
 This image was created with artificial intelligence – marked under Art. 50 of the AI Act, Regulation (EU) 2024/1689. It is a placeholder until the company's photos arrive.
How to measure correctly – instructions for accurately fitting custom-cut aluminium sheets
Measuring aluminium sheets correctly: instructions & tips for millimetre-accurate dimensions for your cut piece. Avoid mistakes and order with a precise fit.
A millimetre-precise dimension is crucial if you want to have aluminium sheets cut to individual specifications. Only those who measure correctly receive a cut piece that can be processed to fit exactly – without reworking or waste. In this article we show you how to measure aluminium sheets properly and what you need to bear in mind with the dimensions. The aim is to enable a smooth order and an optimum fit – whether in mechanical engineering, for furniture constructions or individual DIY projects.
Tool selection: What you need for measuring aluminium sheets
A precise aluminium sheet cut begins with the right tool. To avoid errors, you should only use measuring accessories that are in good condition and suitable for technical applications. A sturdy steel ruler or a folding rule is ideal for straight distances, particularly for smaller cut pieces. A tape measure offers more flexibility for longer sheets or measuring points that are difficult to access.
For right-angled corners or for measuring out cut-outs, a square or carpenter's square is recommended. You should set markings with a fine-liner pencil or a scribing tool – broad markings impair accuracy. For more complex cut pieces, transferring the dimensions to a technical drawing on paper or by means of CAD software is recommended.
Tip: Before starting, check every tool for damage or distortion. Even minor inaccuracies can affect the end result.
Step-by-step guide: How to measure aluminium sheets to the millimetre
First, you should free the aluminium sheet from dust, dirt and residues of protective film. Only on a clean surface can you establish reliable measuring points. Then systematically determine which dimensions you need. The later use of the sheet – for example whether edges remain visible or are overlapped – determines how exactly it must be measured and which additional dimensions are relevant.
Always measure the length and width of the sheet at several points in order to detect possible distortion or manufacturing tolerances. State the thickness of the aluminium sheet in millimetres. It is particularly important if the component is to be inserted to fit exactly. If holes, milled recesses or cut-outs have to be taken into account, these should be measured exactly using fixed reference points – usually the bottom left corner – and sketched. Avoid estimated values and use centreline dimensions. Before submitting your details, a final check is worthwhile: compare all dimensions with your sketch and ideally have the values checked by a second person. A plausibility check helps to avoid gross errors.
Typical sources of error and how to avoid them
Many errors in aluminium sheet cutting do not arise from the cut itself, but from imprecise details when measuring. Common problems are:
- a wrong starting point when measuring (not started consistently from one reference side),
- a forgotten material thickness,
- imprecisely drawn curves or slanted edges,
- missing or ambiguous details on holes or cut-outs,
- the use of different units of measurement (mm vs. cm).
Therefore always ensure a clearly defined zero point, note the sheet thickness and use millimetre details only. The clearer and more detailed your details, the more exact the result.
Special features of complex shapes or cut-outs
A rectangular sheet cut is easy to measure. But as soon as special shapes such as holes, corner cut-outs, internal cut-outs or slanted edges are added, an exact drawing becomes indispensable. This should contain an unambiguous zero point – as a rule the bottom left corner – document all dimensions of the cut-outs as well as their distance from the outer edges and, if applicable, also include angle details.
The specification of the sheet thickness is also mandatory for machining operations. For technical projects, the use of a CAD file in .dxf or .dwg format is recommended, as this enables direct transfer to CNC machines and minimises interpretation errors.
Submitting dimensions: How to succeed with a made-to-measure order
Once you have recorded your dimensions, prepare the order. State the dimensions in millimetres only, for example 350 × 280 × 3 mm. Your sketches should be labelled in a clearly legible way – handwritten or digital as PDF, JPG or PNG. For technically demanding cut pieces, a CAD drawing is additionally recommended. Name your files unambiguously, for example after the project or component designation.
If they are visible or functional elements, a short note on the later use helps. For submission, preferably use email or – if available – an upload form in the shop. If certain tolerances must be maintained, for example ±0.5 mm, you should state this explicitly as well. Also state whether the edges are to be supplied untreated, deburred or chamfered.
Additional tips for DIY enthusiasts and professionals
When measuring, also take environmental influences into account: aluminium expands slightly when hot. Therefore allow a small tolerance for outdoor applications or temperature fluctuations – around 0.5 to 1 mm per metre of length. Find out in advance about your supplier's cutting accuracy. Standard tolerances are usually ±0.5 mm. The protective film on the sheet should be left in place until processing in order to avoid scratches.
If you want deburred or chamfered edges, this must be noted separately. If several sheets are ordered, you should number your sketches clearly, for example "Position 1: front panel" or "Position 2: side wall". This way you avoid mix-ups and ensure that every cut piece can be correctly assigned to its later use. For larger projects, a parts list is also recommended in order to keep an overview of all cut pieces and dimensions.
A compact overview for your preparation:
- Note the sheet dimension in length × width × thickness
- Sketch special features (holes, cut-outs)
- State tolerances (e.g. ±0.5 mm)
- Check the file format and scale of the drawing
- Note the intended use (e.g. visible surface, mounting plate)
- Take protective film and edge machining into account
Conclusion: Precision begins with measuring
The precise cutting of aluminium sheets is only as good as the dimensions you submit. Anyone who takes the time to measure correctly and documents their dimensions clearly receives a result that fits exactly – whether for machine cladding, furniture making or individual craft projects. A structured approach to measuring not only helps to avoid errors, but also saves time and money – for professionals and DIY enthusiasts alike.
Always keep the entire process in view: from the first measurement through the sketch to the order. That way your project becomes a success – implemented to the millimetre and to fit exactly.